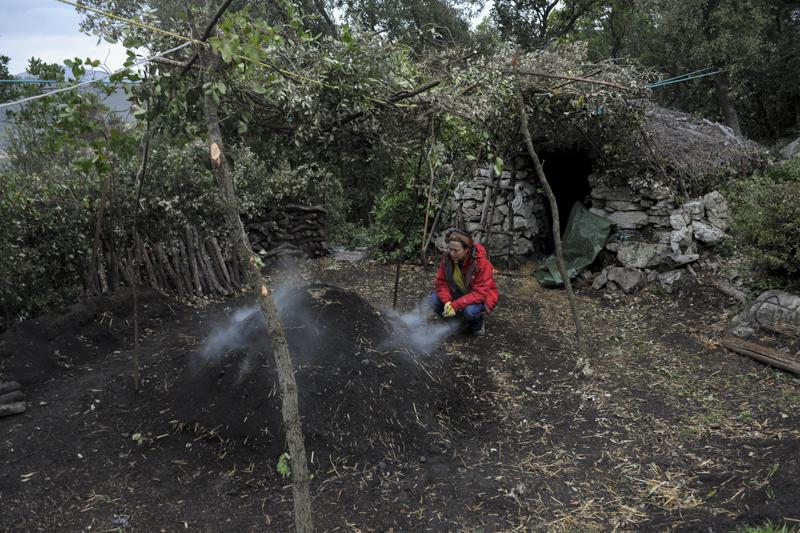
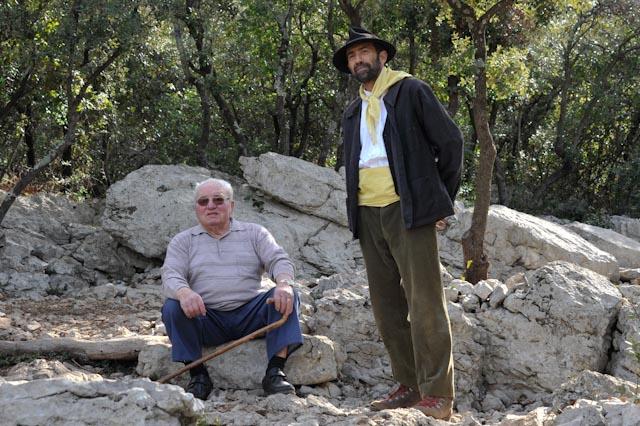
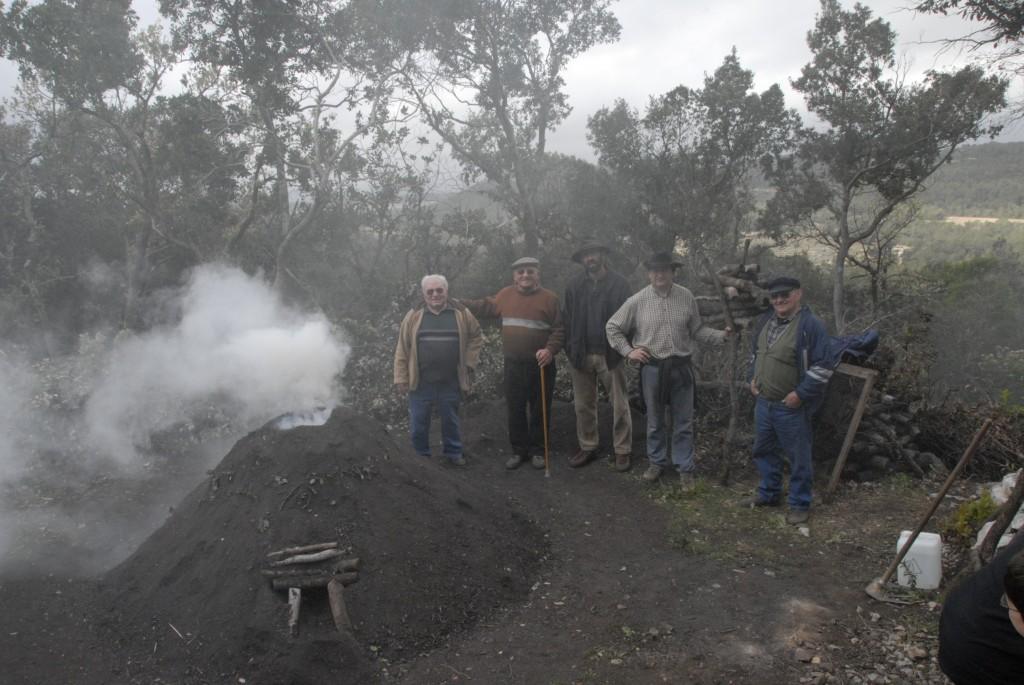
Charbonnier est maitre dans sa demeure: a coalman’s home is his castle!
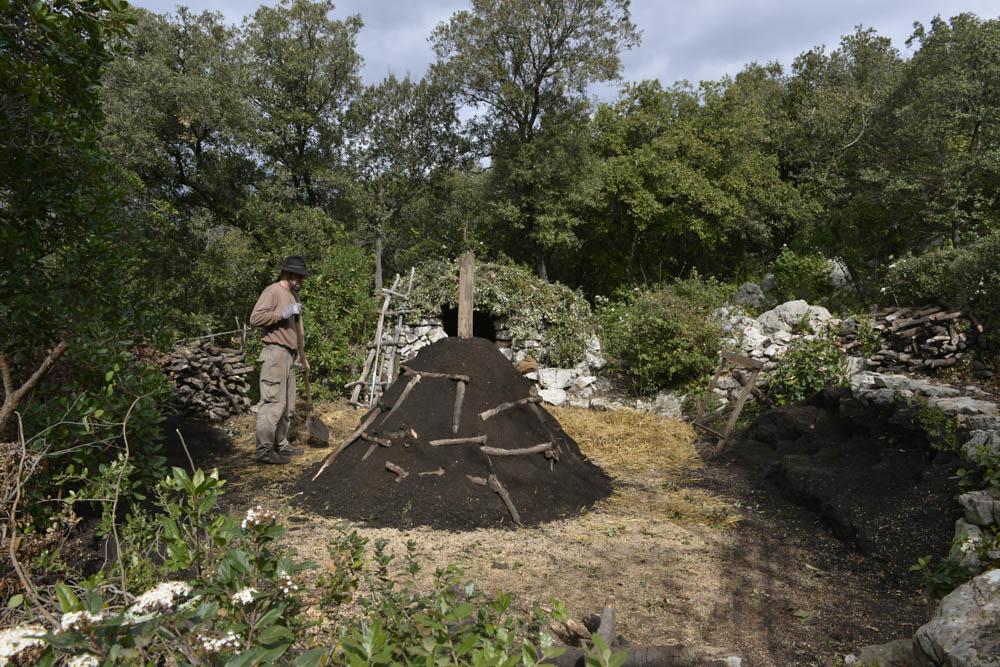
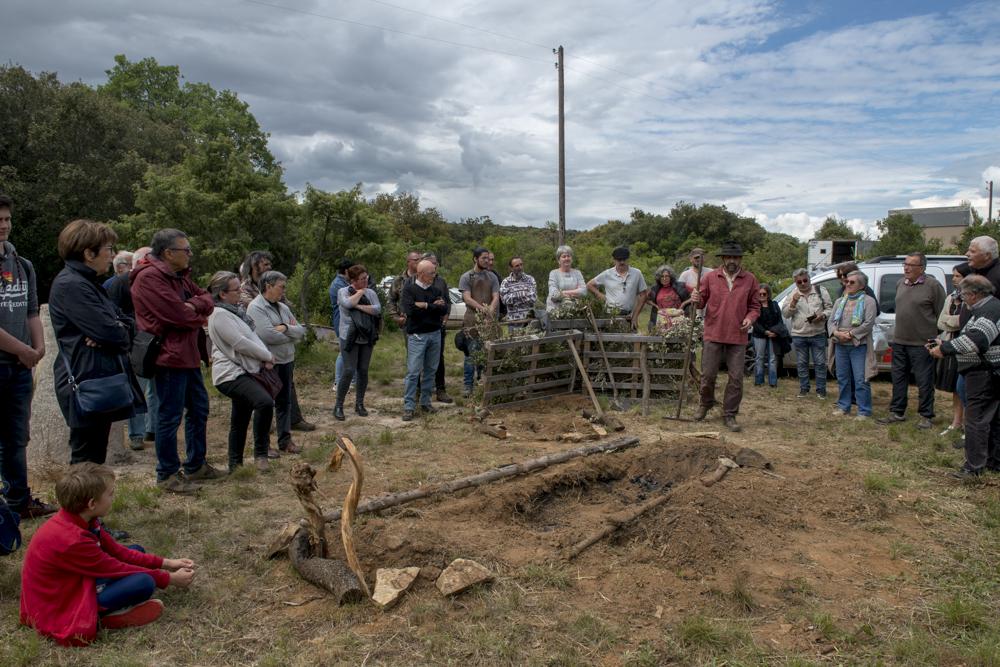
The coalman cleans a plane rounded surface of all vegetation to form the charcoal area or « faulde« . He builds on it the wheel or « meule » which is the woodpile to be charcoaled.It thens covers it with leaves and dirt to form the charcoal kiln or « charbonnière ». It thens covers it with leaves and dirt to form the charcoal kiln or « charbonnière« .
To build the charbonnière you will need to:
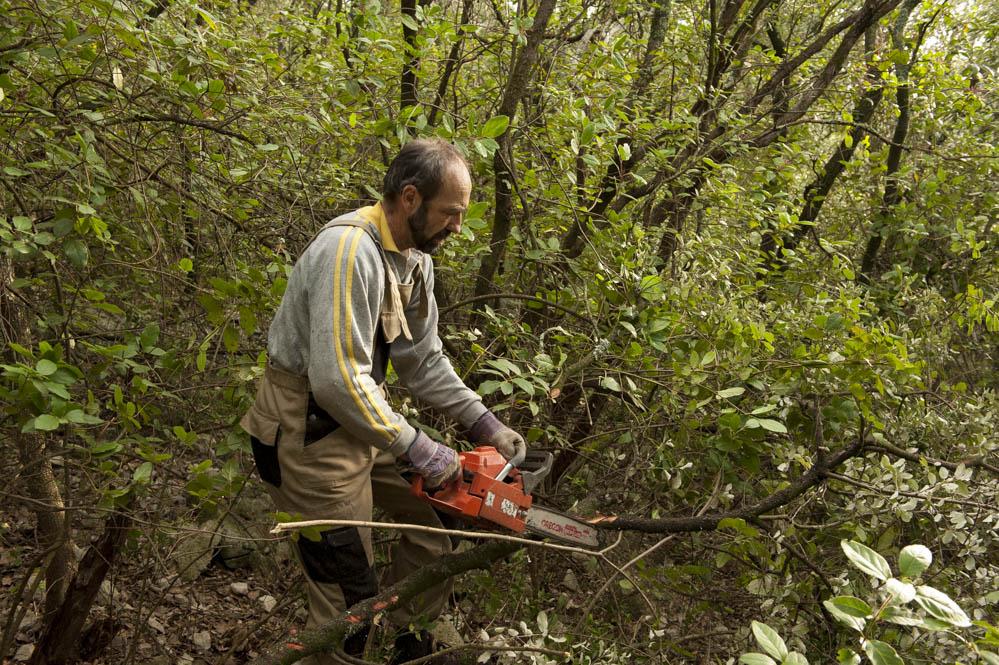
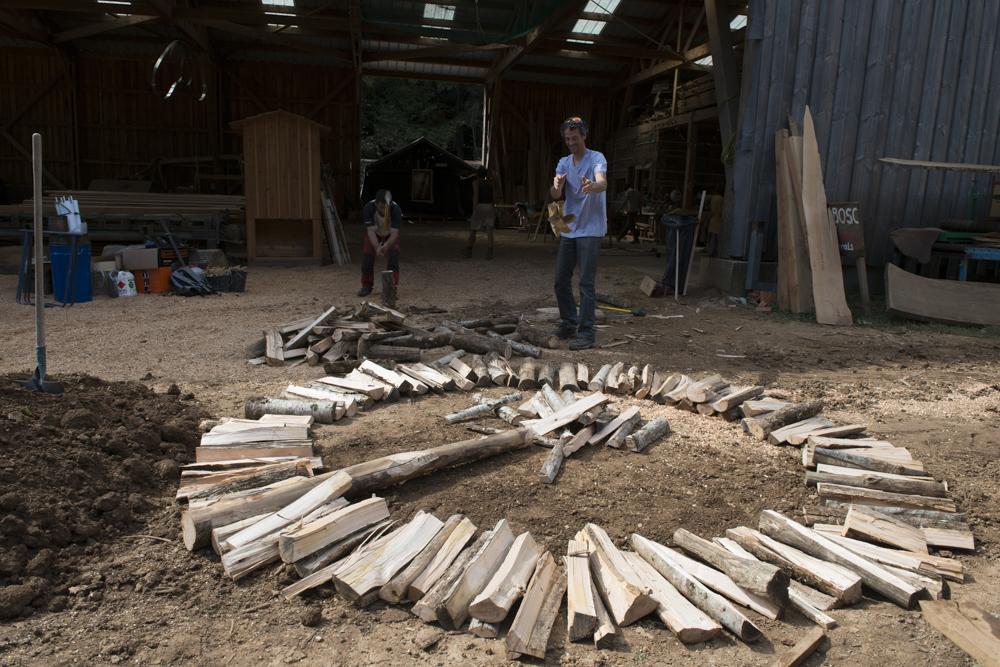
– Cut 4′ wood logs (70-80 cm).
– Flatten twigs of green oak with big stones.
– Distribute heaps of dirt evenly over the faulde.
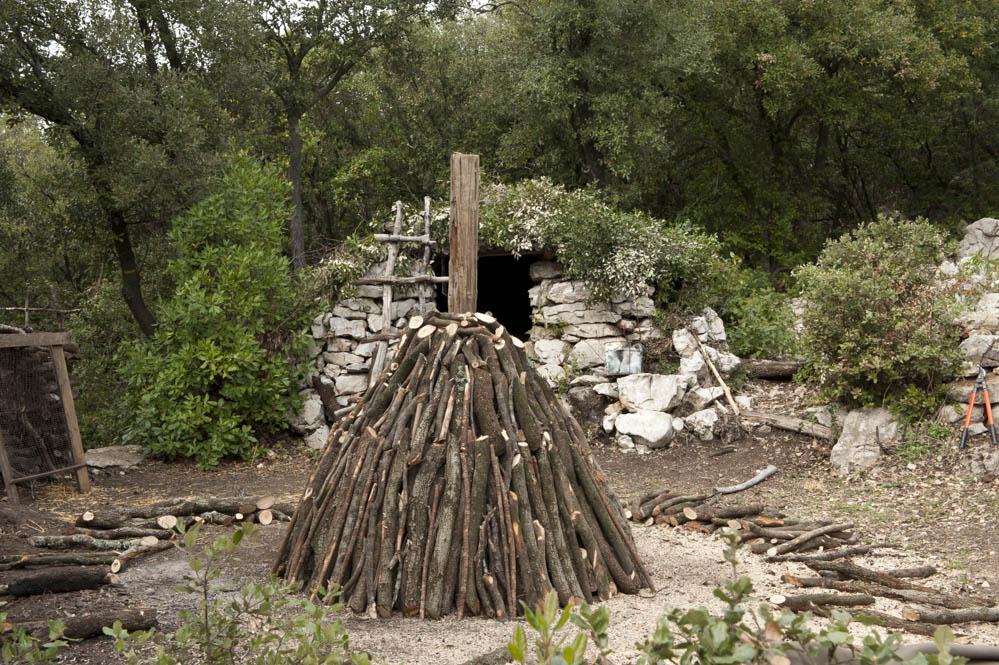
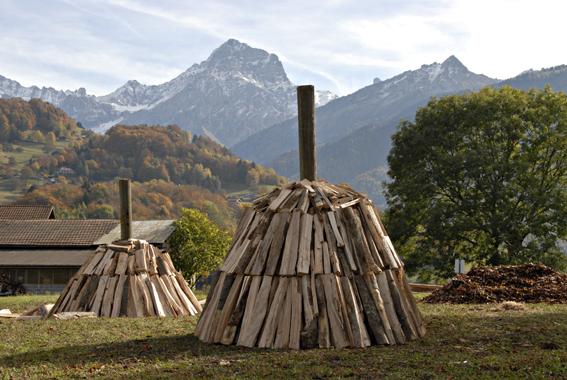
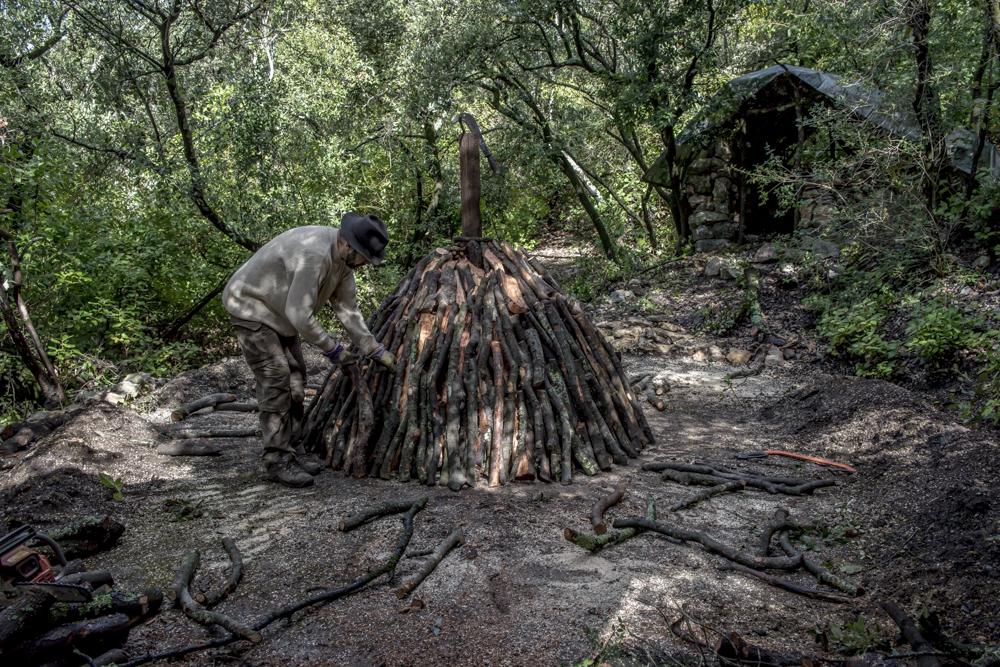
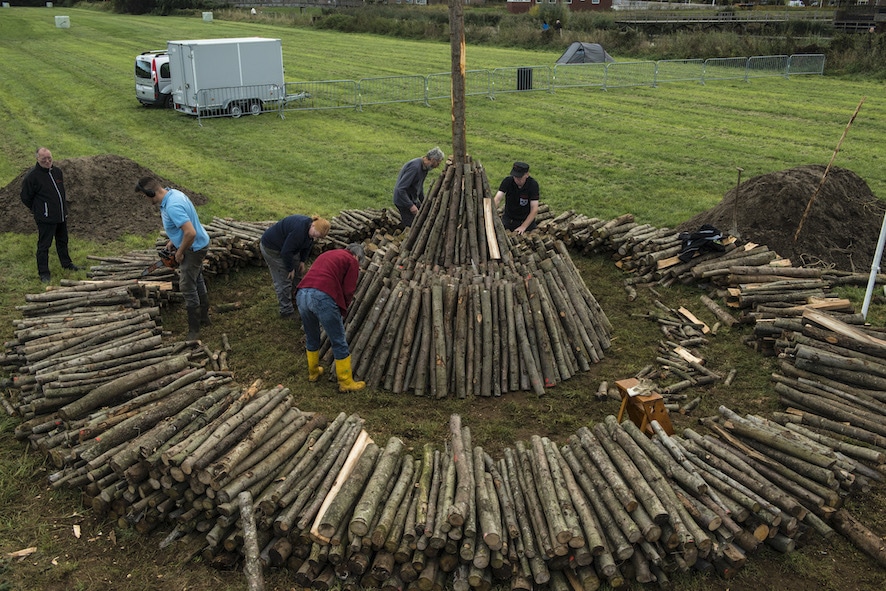
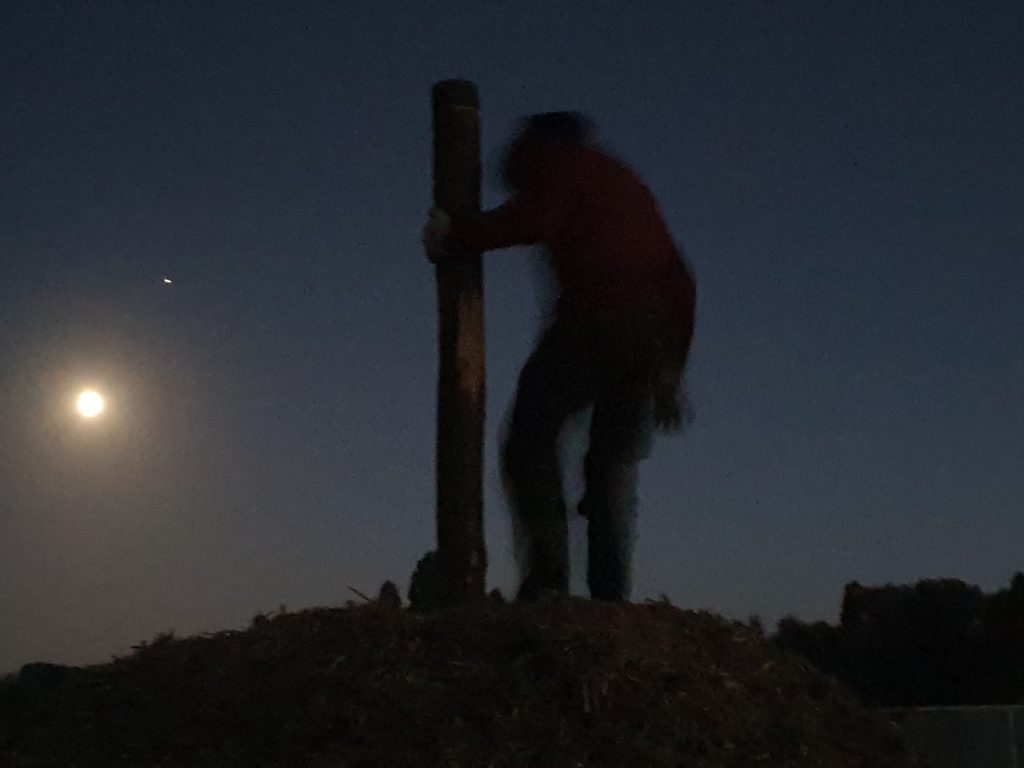
– Place at its centre a pole materializing the chimney of the meule with dry wood at its base.(1)
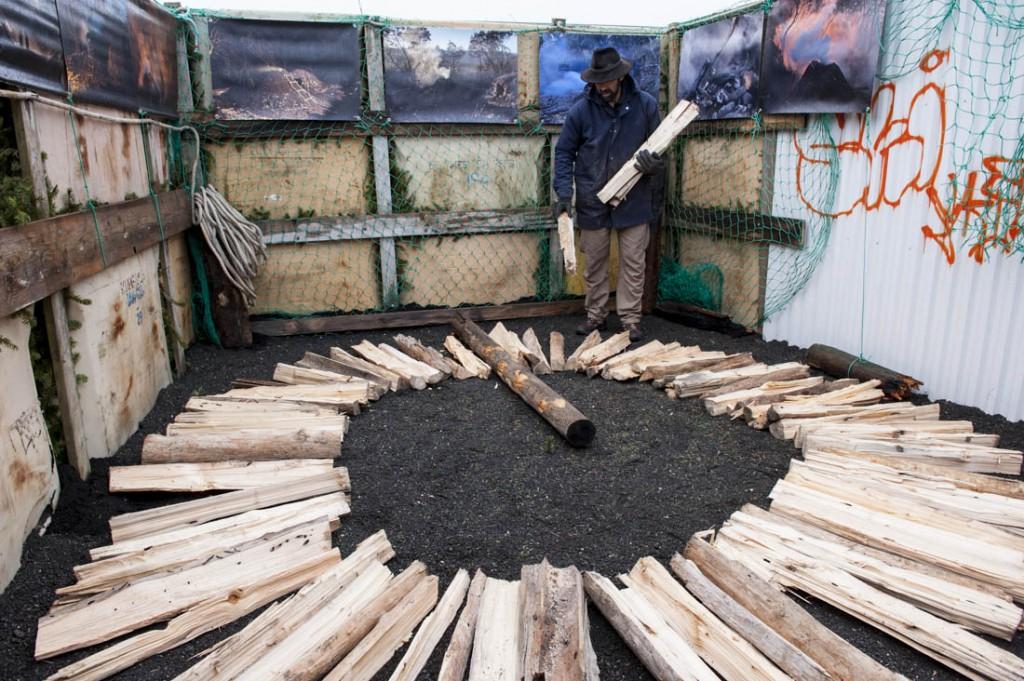
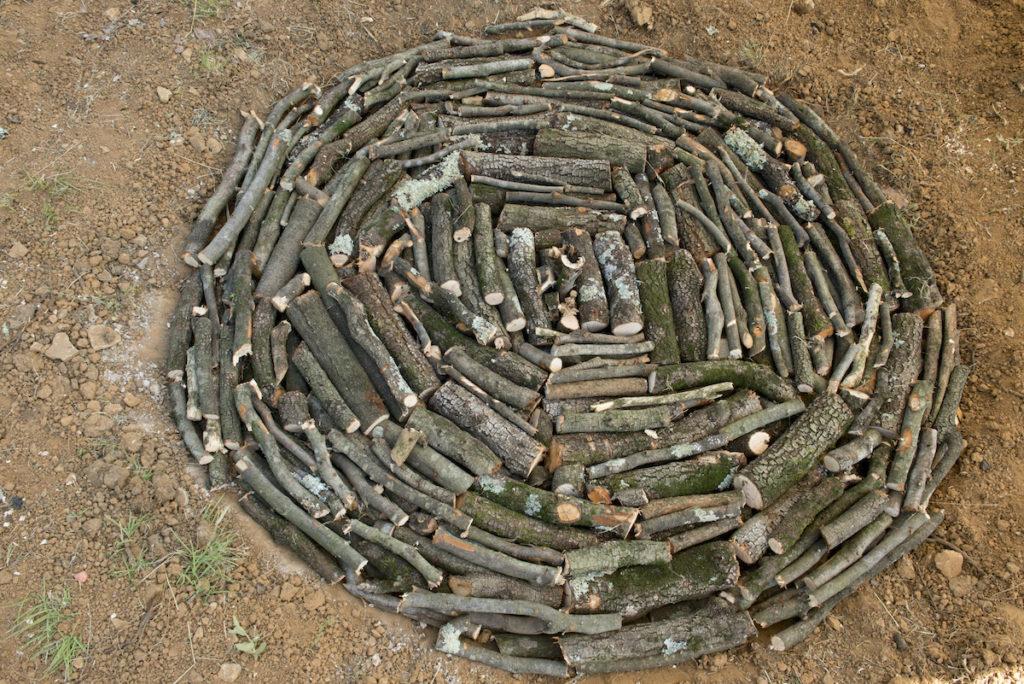
– Stack small green logs (about 25 cm) along the chimney axis. This is to bear the entire meule’s wood load.
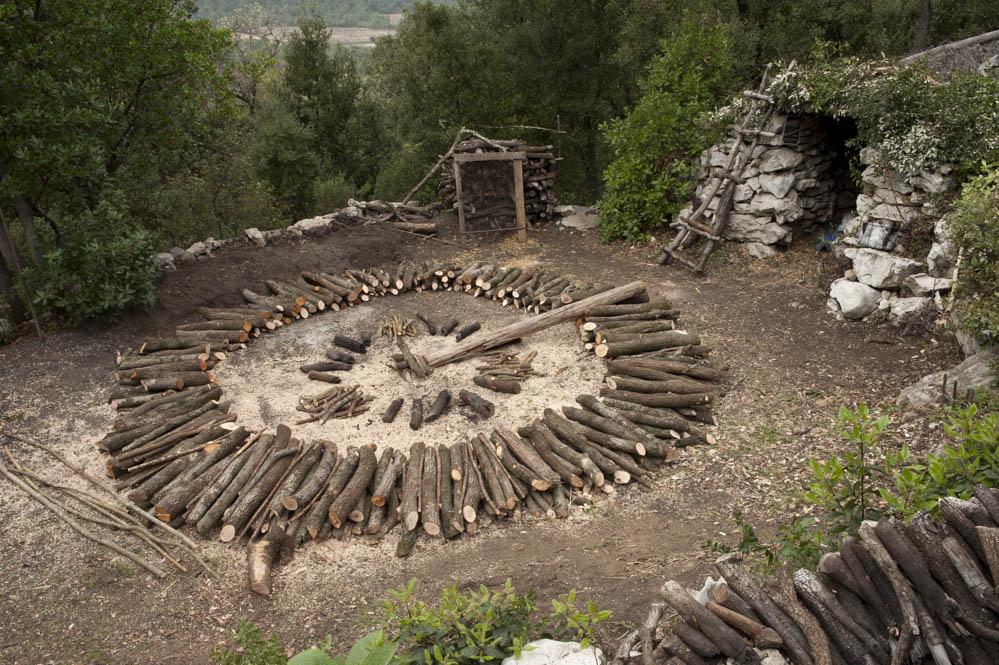
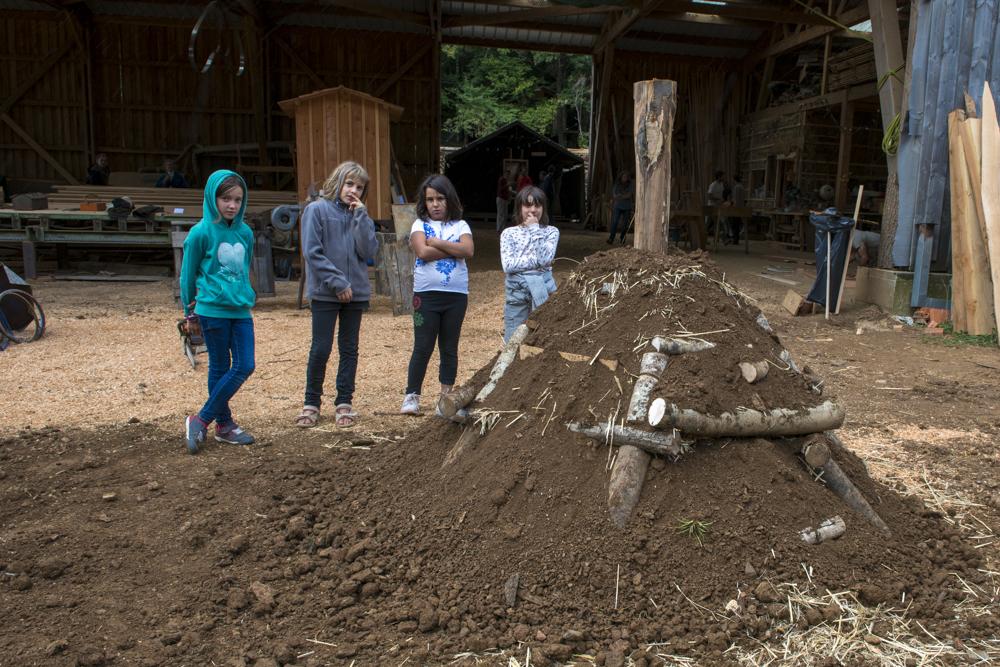
– Stack the logs vertically around the chimney axis in a slightly inclined way to give the charbonnière its rounded shape. (2-3)
– Place lap wood horizontally at the top of the pile to support the vegetal cover.
– Fill the gaps between the wood logs with the flattened twigs of green oak to make the vegetal cover. (4)
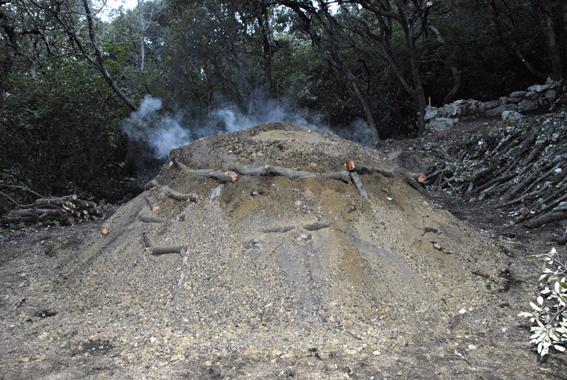
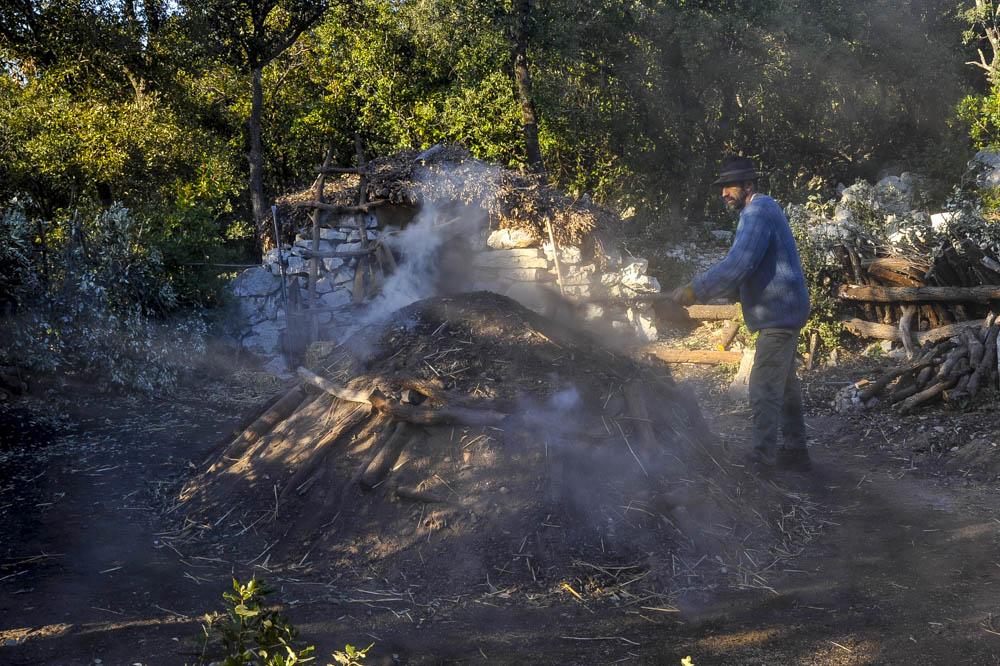
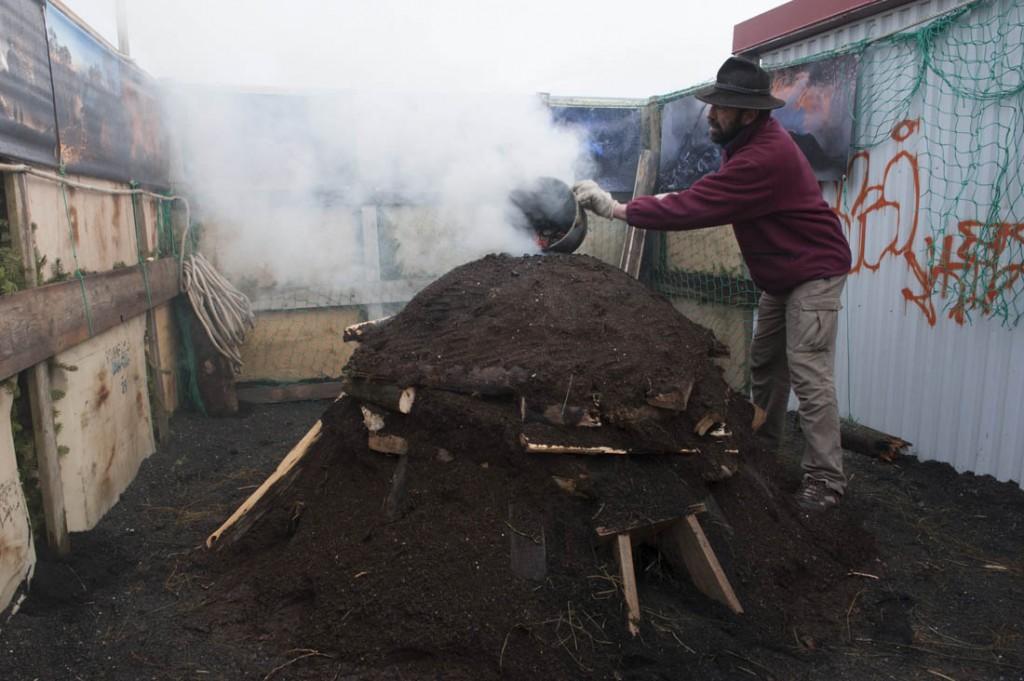
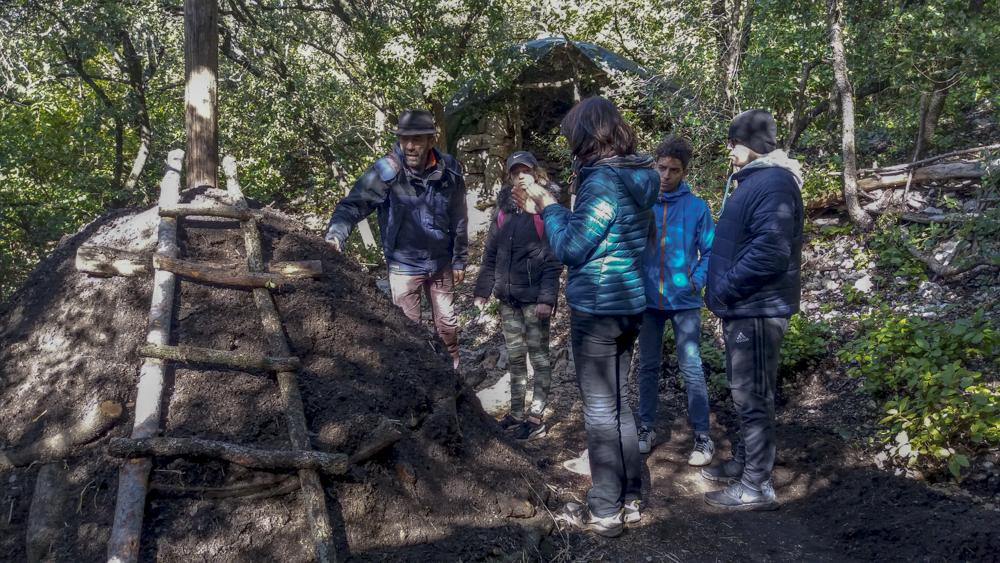
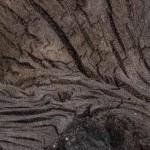
– Carefully cover this vegetal dome with dirt. (5-6)
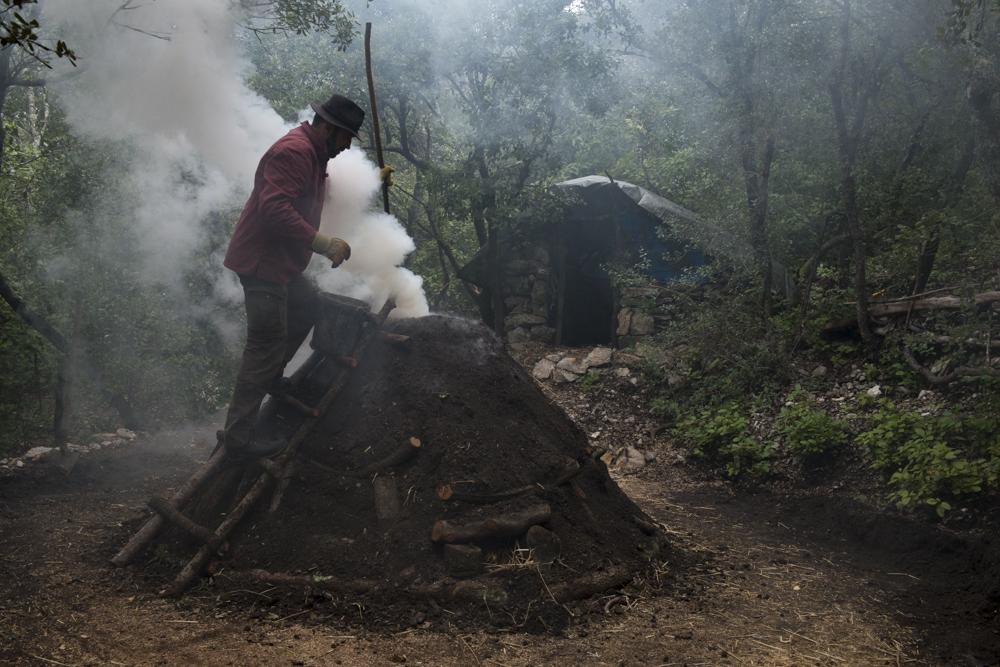
– Climb the ladder and remove the pole at the centre of the charbonnière.
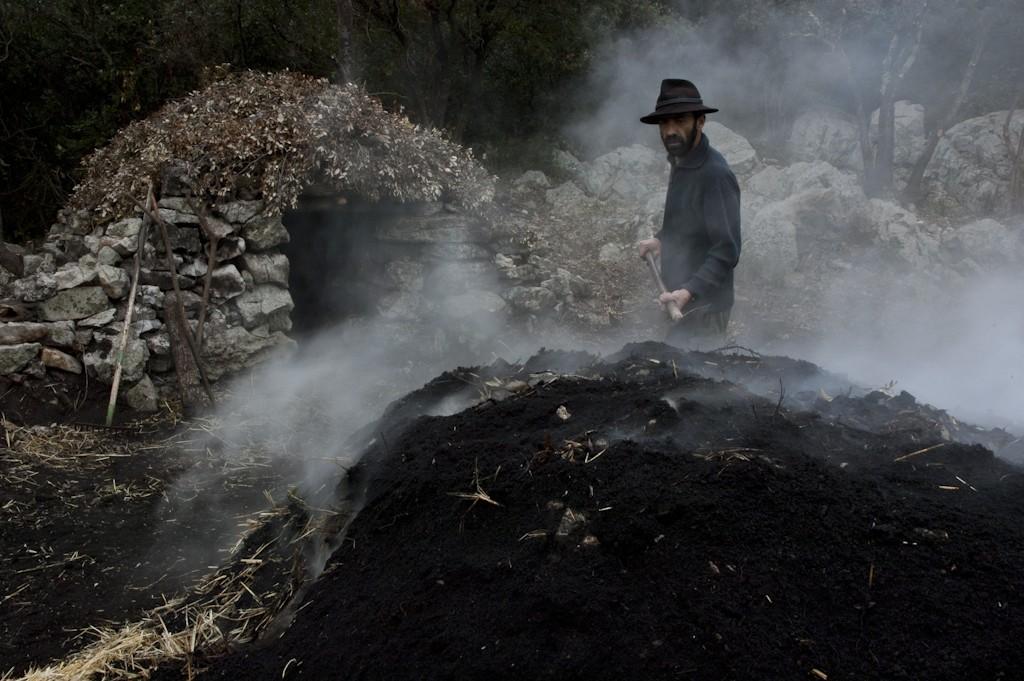
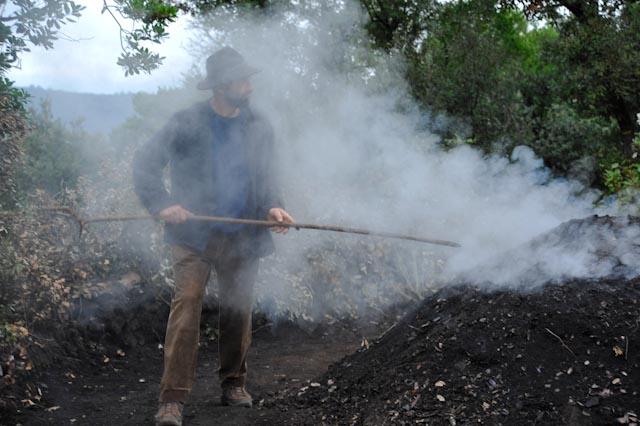
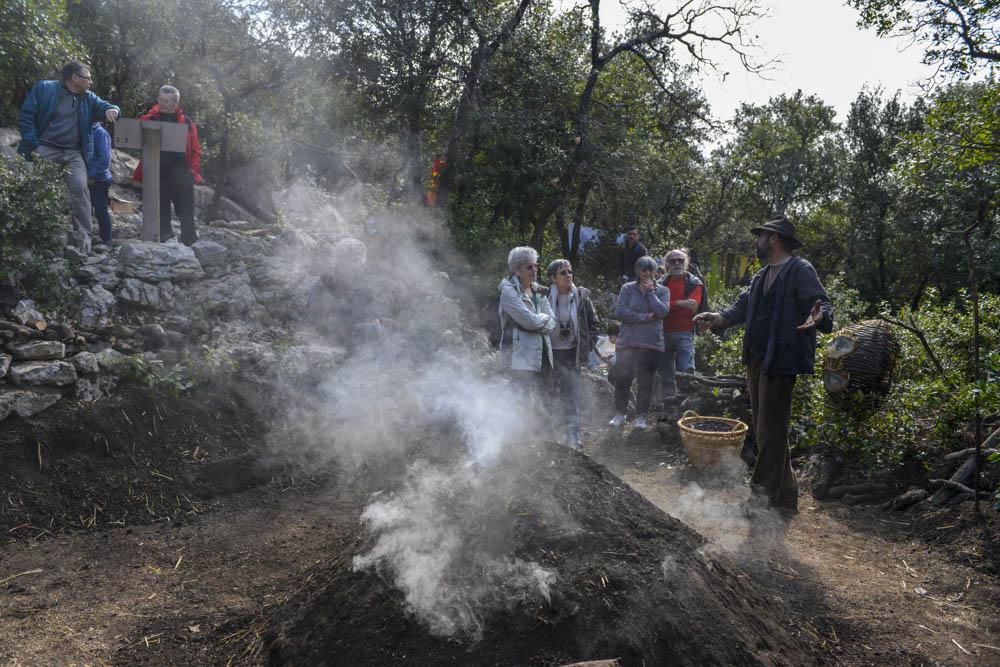
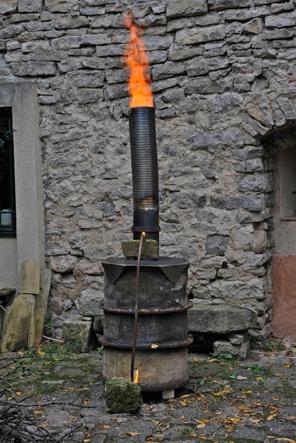
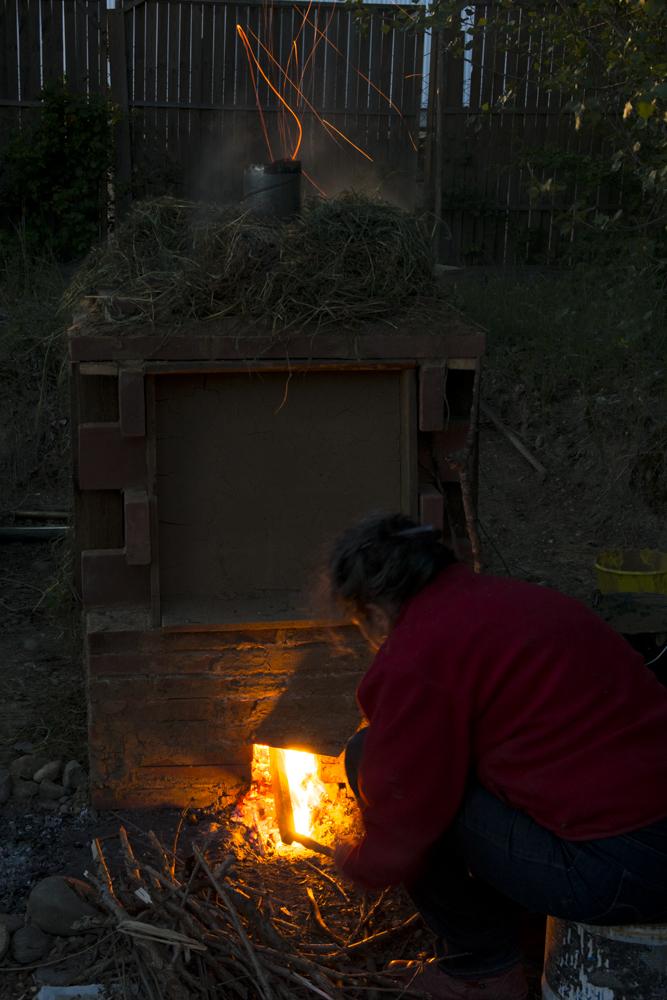
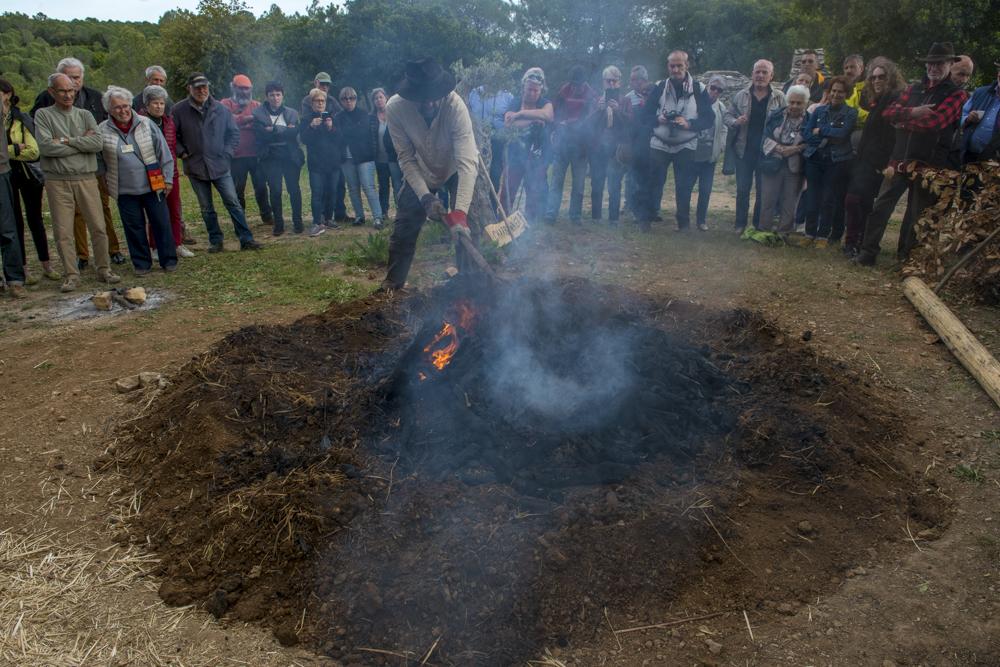
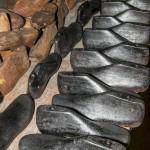
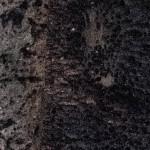
– Put a shovelful of embers in this hole to light the dry wood at its bottom. (7)
– Feed the fire that climbs along the chimney with dry and green wood.
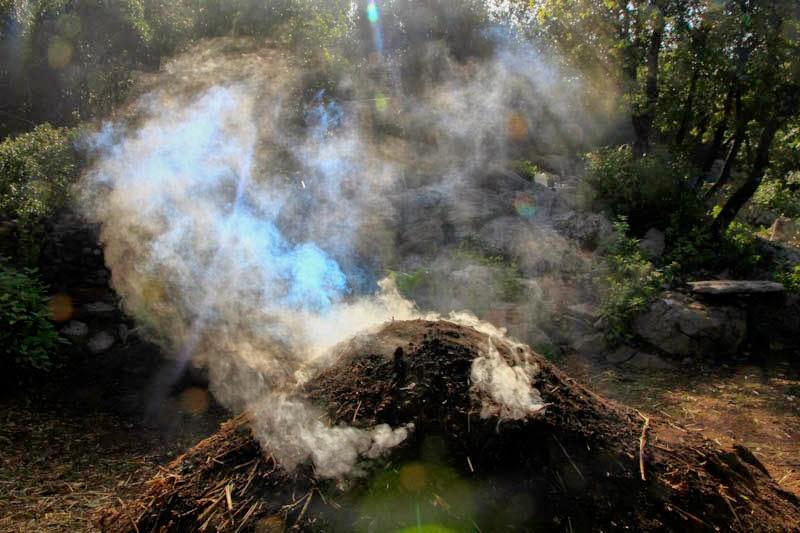
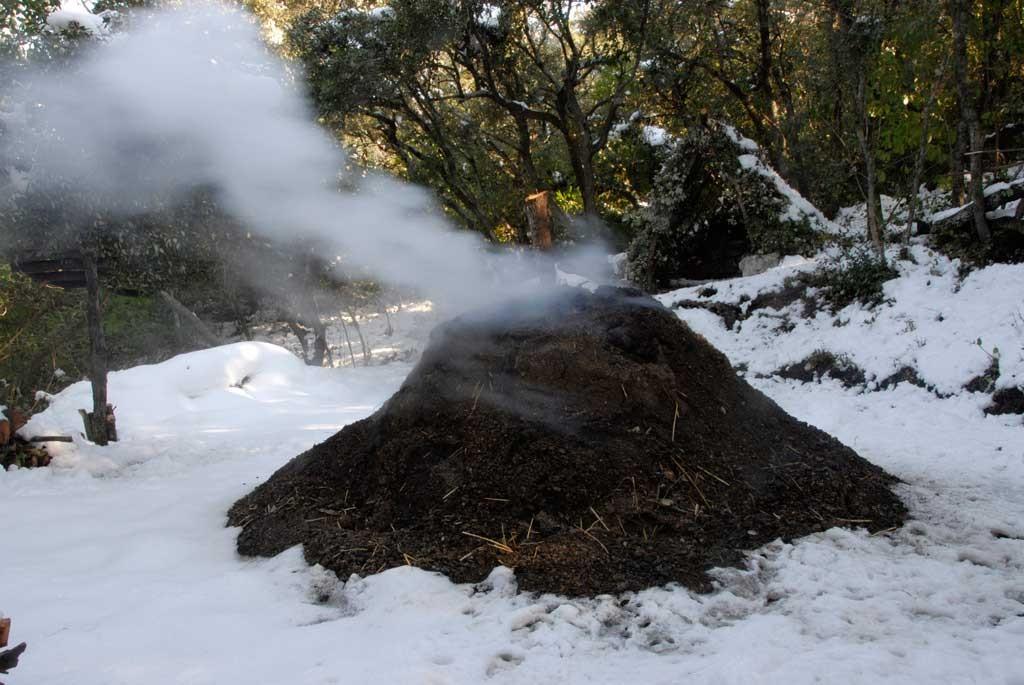
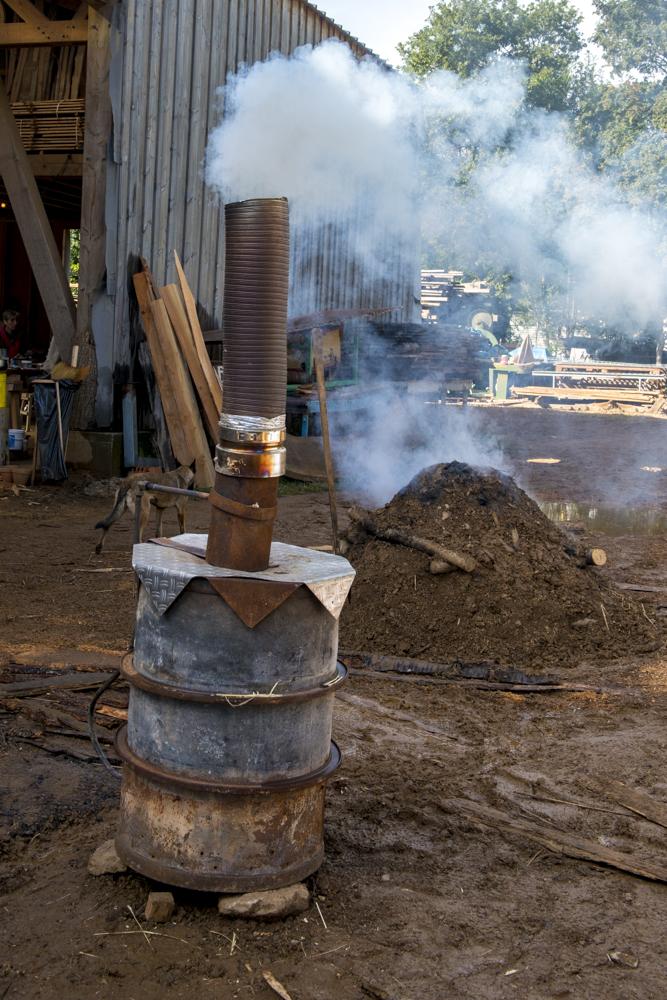
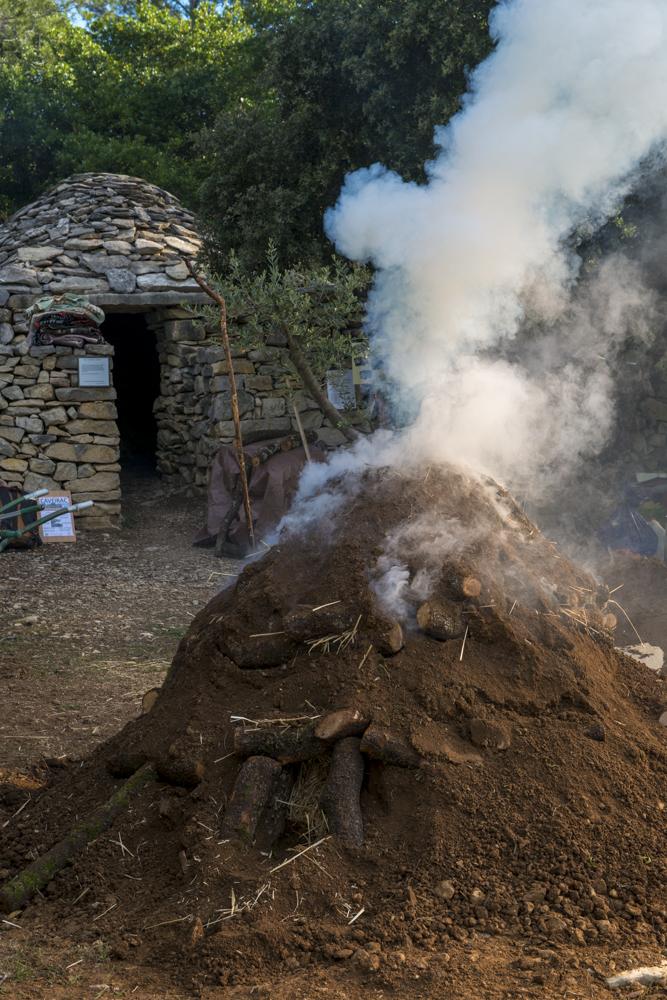
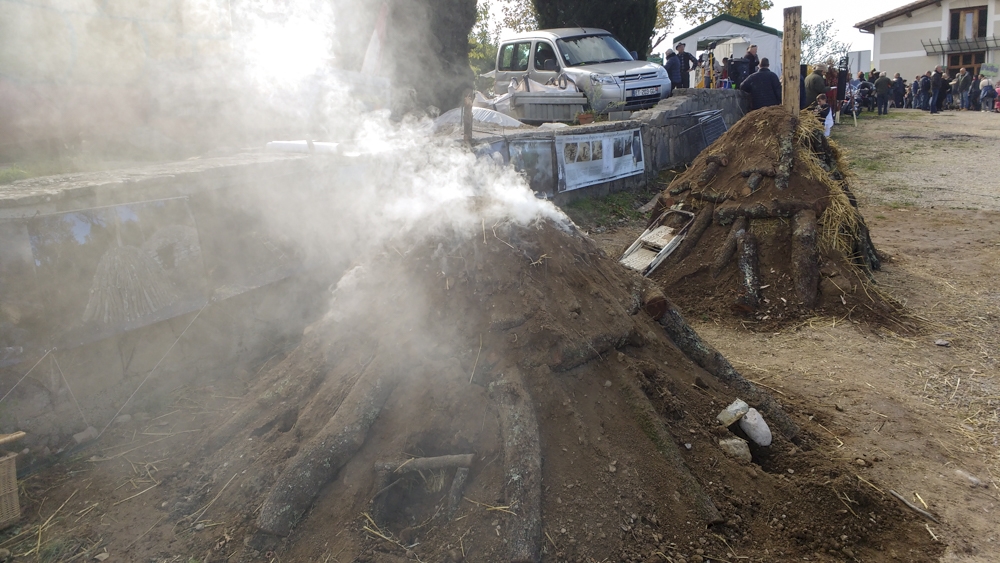
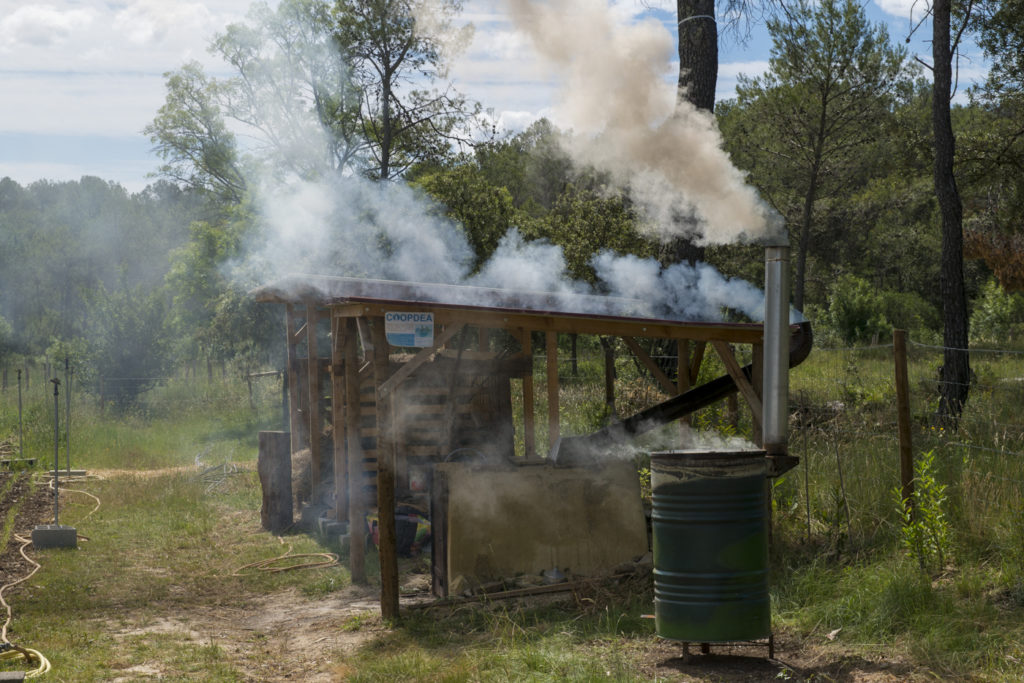
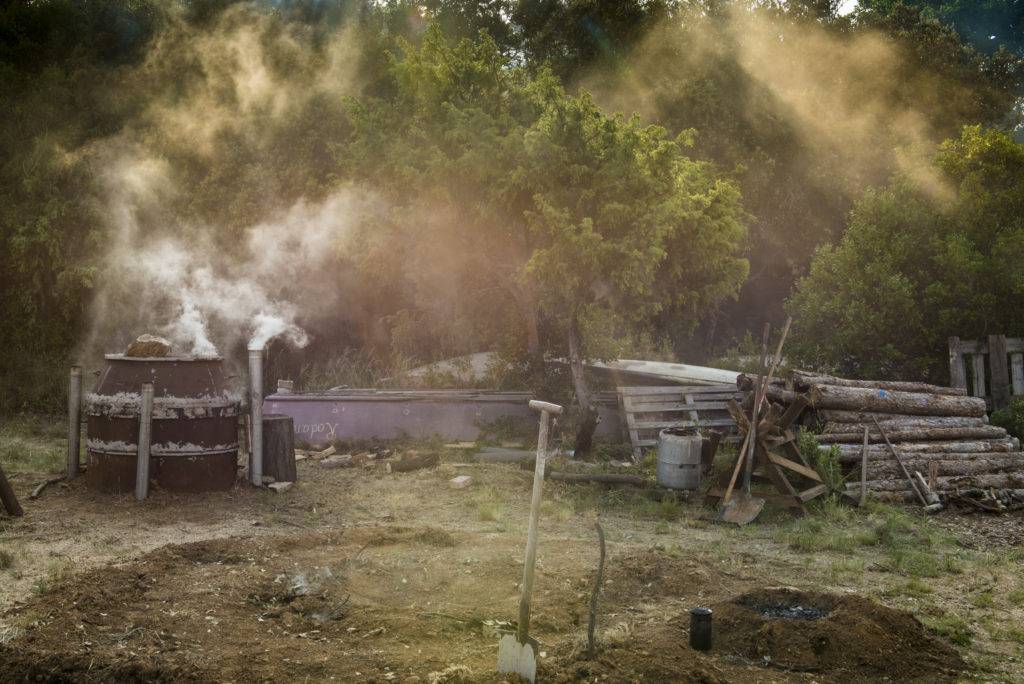
– When the fire reaches the top of the chimney, the internal temperature is close to 500° C. The pyrolysis is about to start: clog the chimney with dirt.
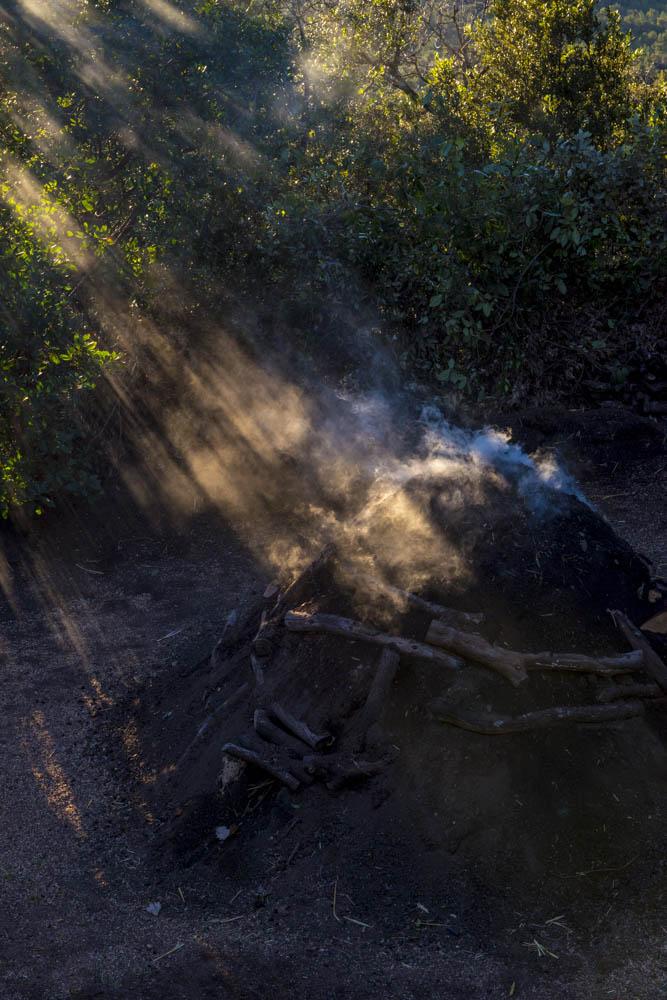
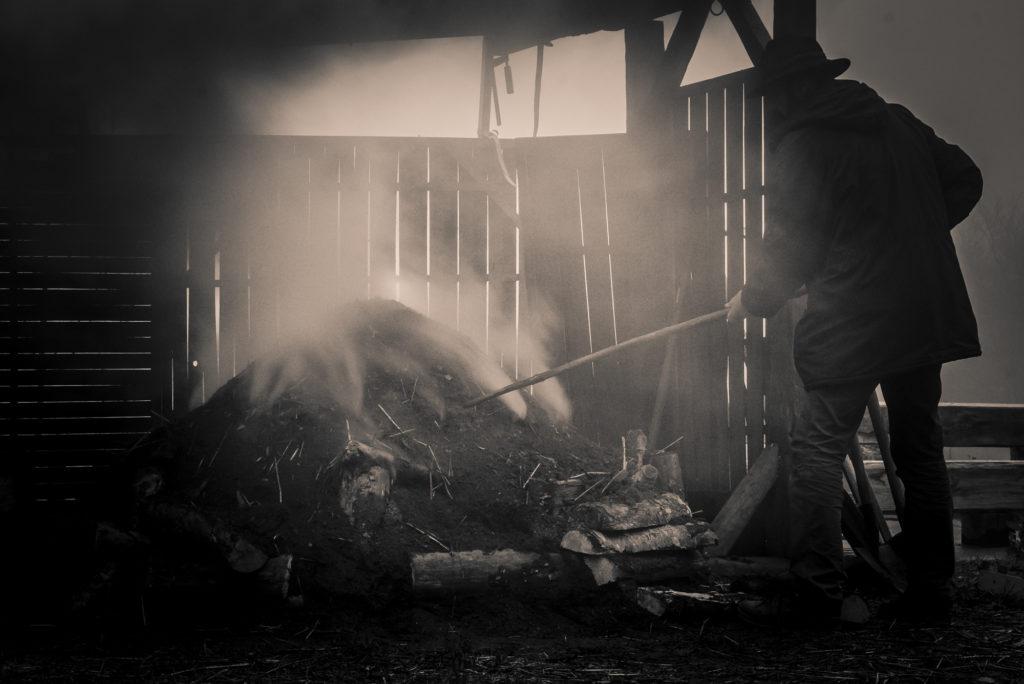
– Reduce the thickness of the dirt cover or pierce it. This is to orientate the heat in the charbonnière
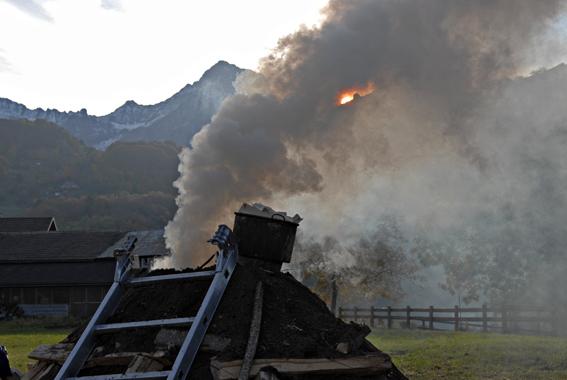
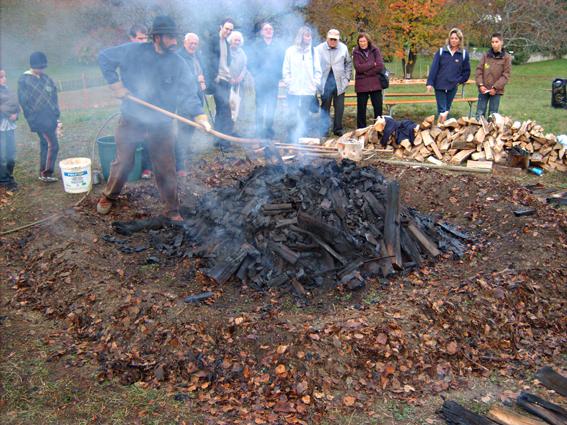
– Pierce holes, one level after the other, starting from the top until you reach the bottom of the charbonnière and all the wood is charcoaled. (9-10)
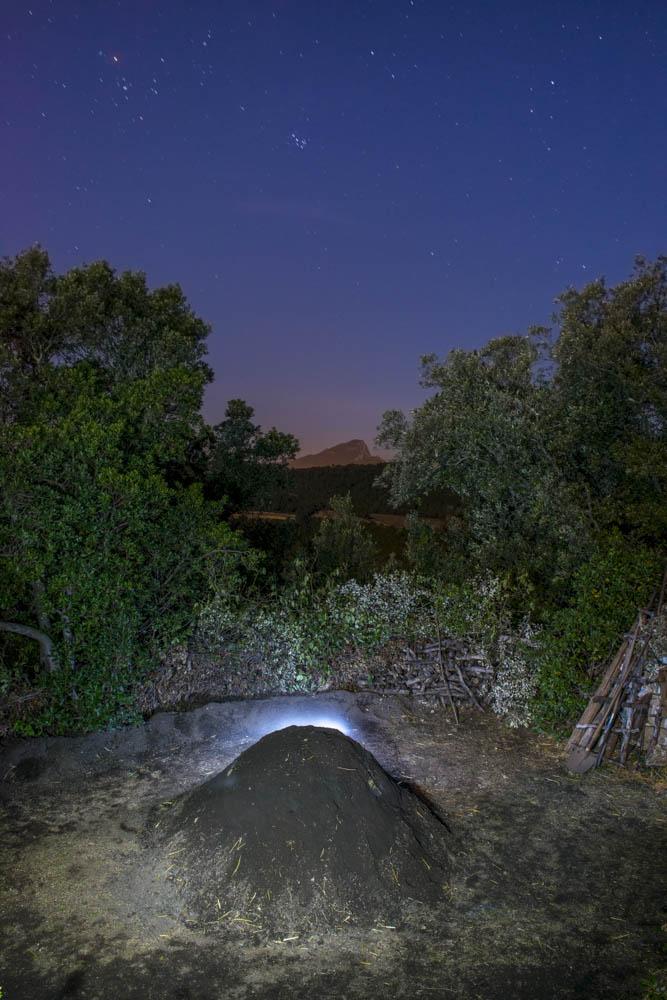
Important note: once started, the charcoaling process can only stop once all the wood is charcoaled and cold. If a collapsed part of the dirt cover is not quickly fixed, the kindling of the burning wood can take place almost on the spot causing the loss of all the work done. The charcoaling process then requires a constant supervision (days and nigths) over a period of 5 days.
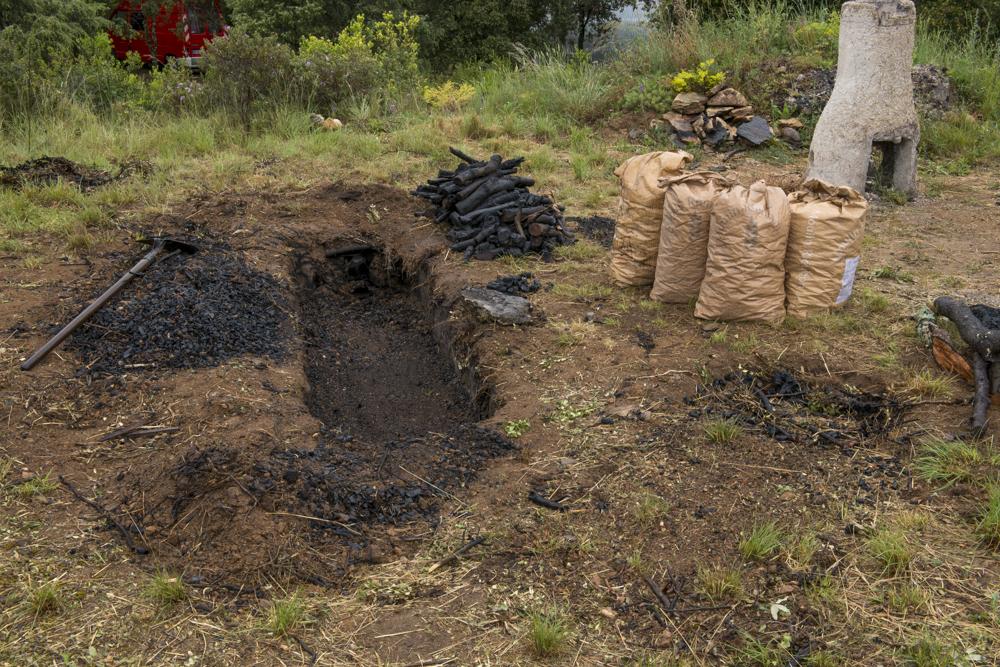
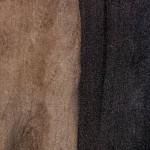
– Remove the dirt and leaves ashes from the top of the charbonnière and gather the charcoaled logs of wood.

Notes:
(1): This pole will then be removed at the time of ignition.
(2): The meule is typically made of 6 to 8 cubic meters of wood stockpiled over 2 stages. It then reaches a height of approximately 2.5 m. This modest size is both due to the low density of the tree cover and the limited surface available over steep slopes for the fauldes in the Mediterranean area.
(3): The use of the conical shape probably dates back to the thirteenth century. Other techniques using a cube shape or firing in a pit were also used.
(4): Juniper branches can be an alternative to green oak as they provide excellent support to the dirt cover to be added on top.
(5): This dirt shell isolates the burning wood from oxygen in the air. The coalman then uses the dirt covered meule as a pyrolysis furnace to create the charcoal.
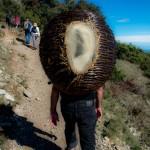
(6): All materials (wood, leaves and dirt) were taken on the spot. The coalman sometimes brought the dirt, rare on the Mediterranean hills, with him from one faulde to the other.
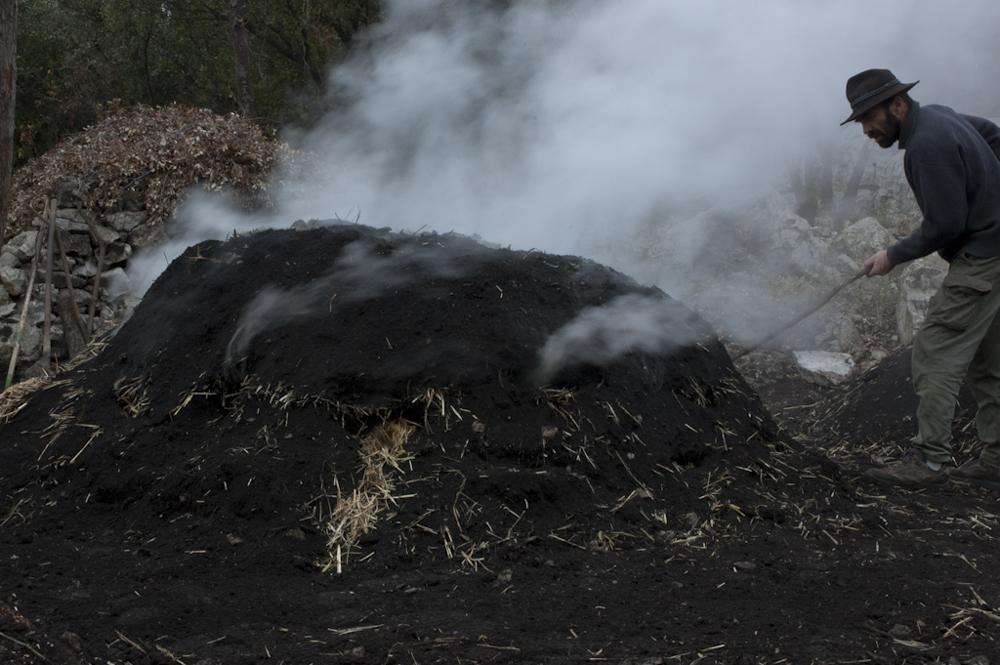
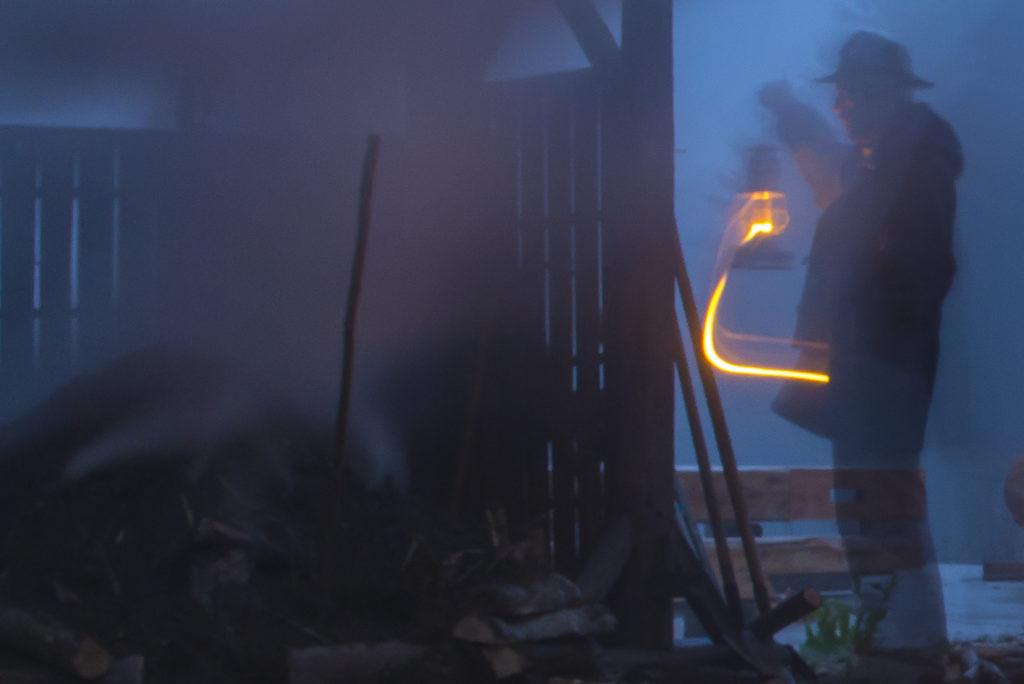
(7): This is the stage where the coalman really starts to apply his magic and transform wood in charcoal by controlling fire. This is why he is also called fire master.
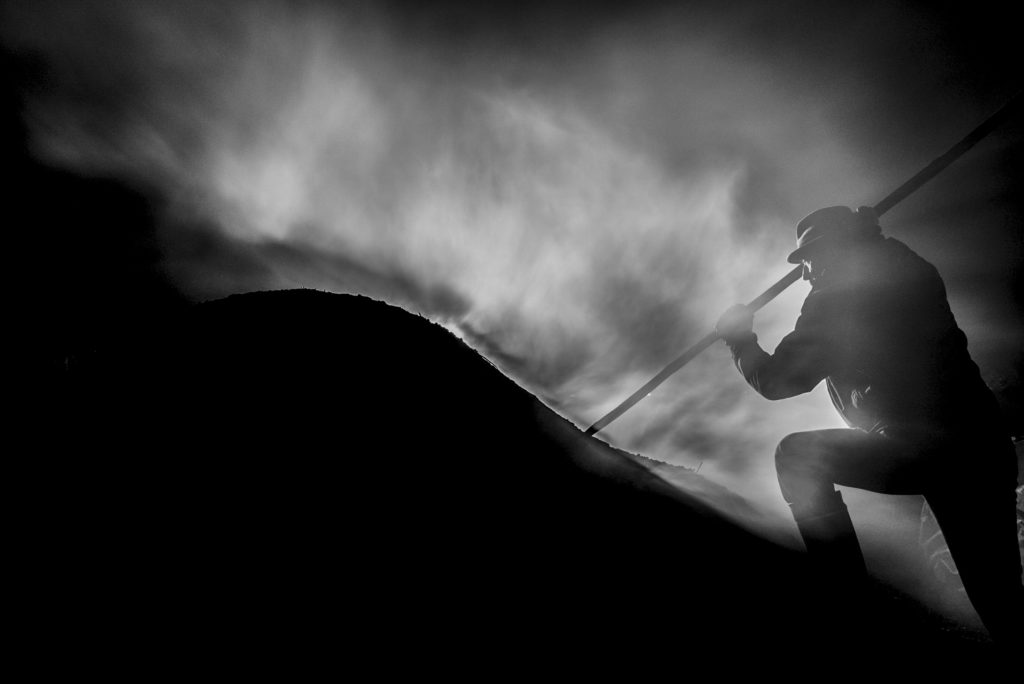
(8): The fire master drives the burning of the meule thanks to his knowledge and experience. The quality of the produced charcoal depends largely on his expertise.
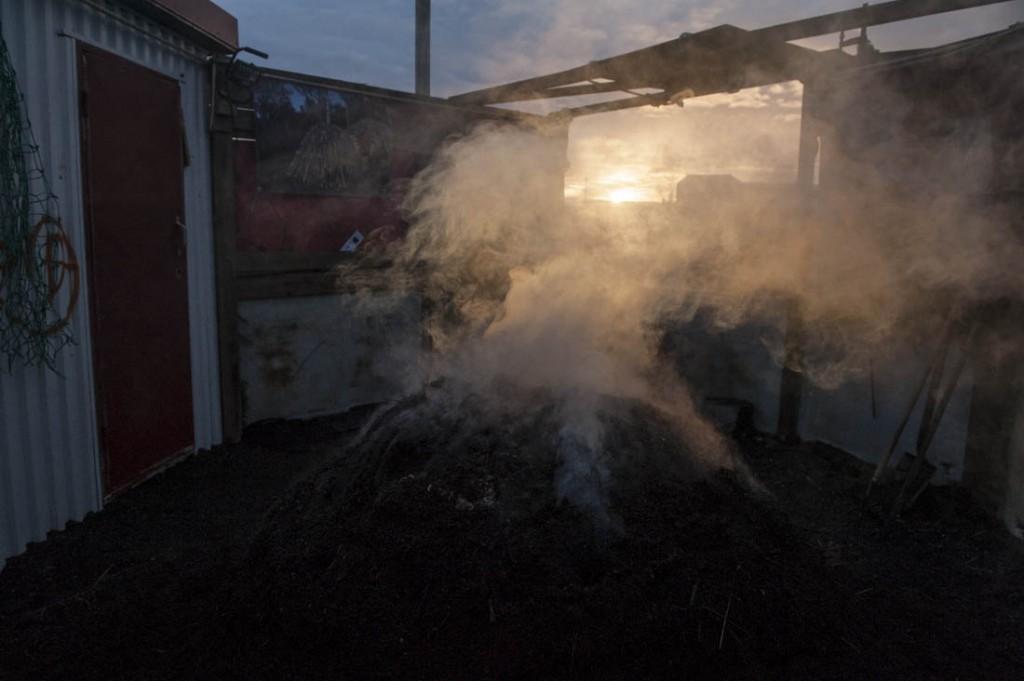
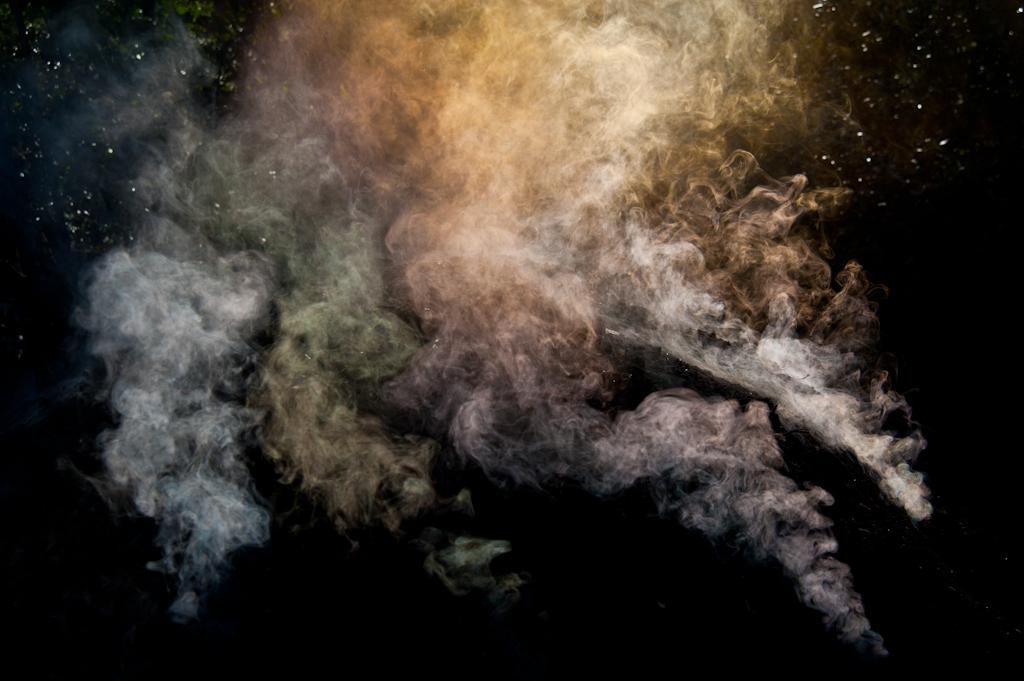
(9): The colour, density and smell of the smoke going out of the charbonnière through the vents give precious information to the fire master. Thanks to them he can closely monitor the progression of the charcoaling process.
(10): During this process, the charbonnière progressively settles down.
Thank you a lot for translation to Vincent Guérineau